Laser cutting is the cleanest way to cut acrylic mirror, and it is how a large share of the mirror acrylic we supply ends up being processed — by sign makers, craft sellers, and fabrication shops running CO2 lasers. Done correctly, a laser produces a smooth, sealed edge in a single pass, with no scoring, sanding, or polishing afterward. Done incorrectly, it produces frosted edges, melted kerfs, or scorched mirror coating.
This guide covers what matters for laser cutting acrylic mirror: which material to specify, the power and speed settings to start from, how to protect the mirror surface during cutting, and the projects mirror acrylic is most commonly used for. The settings below are starting points for tuning, not fixed values — machine wattage, lens, air assist, and material grade all shift the result.
Cast or extruded: specify the right material first
The single most important decision happens before the laser is switched on: which type of acrylic mirror you are cutting. Cast and extruded acrylic are made by different processes and behave differently under a laser.
Why the two behave differently
Cast acrylic is polymerized in sheet form between glass plates. Extruded acrylic is pushed through a die in a continuous process at lower cost. The difference in molecular structure changes how each responds to laser heat, and the practical effect on edge quality is significant.
The fabrication guide published by Xometry explains the mechanism in useful detail: cast acrylic has a higher melting point than extruded, so it requires more laser power to cut a given thickness, but it vaporizes cleanly at the cut line and leaves a transparent, flame-polished edge. Extruded acrylic softens more readily and can be cut at slightly lower power, but because it melts rather than cleanly vaporizing, it is more prone to leaving a frosted or gummy edge that needs post-processing. Xometry’s recommendation follows from this: extruded’s easier cutting is an advantage for speed and cost, but where edge appearance matters, cast is the material to specify.
The laser specialists at Rothko and Frost draw the same distinction and add an important reversal that is easy to get wrong. For cutting, they recommend always specifying cast, because extruded melts rather than vaporizes and produces frosted edges. But for engraving, they point out the relationship inverts — extruded acrylic produces a cleaner, more consistent white frost when engraved, while cast can give a more variable, slightly translucent mark. Their practical rule is therefore split by operation: cast for cutting, extruded for engraving, especially filled or painted engraving. This matters for mirror work because many mirror acrylic projects combine both — a cut outline with engraved detail — and the material choice has to be made against whichever operation is more important to the finished piece.
Quick comparison
| Factor | Cast acrylic | Extruded acrylic |
|---|---|---|
| Cut edge quality | Clear, flame-polished | Frosted, may need finishing |
| Power needed to cut | Higher (higher melting point) | Lower (softens readily) |
| Cutting speed | Slower | Faster |
| Engraving result | Variable, translucent | Clean white frost |
| Thickness consistency | Looser tolerance | Tighter tolerance |
| Cost | Higher | Lower |
| Best for | Edge-visible cut parts | Cost-led work, engraving, batch parts |
For most laser-cut mirror acrylic work where the cut edge is visible — signage, ornaments, jewelry, display pieces — we generally recommend cast. Where the part is mainly engraved, or where many identical parts need consistent thickness for press-fit assembly, extruded has the advantage.
Our company mainly produces extruded sheets. We have extensive cutting experience and clearly know the cutting methods within the specified thickness range, allowing us to deliver samples quickly. If you need a mirror cutting piece, you can contact us.
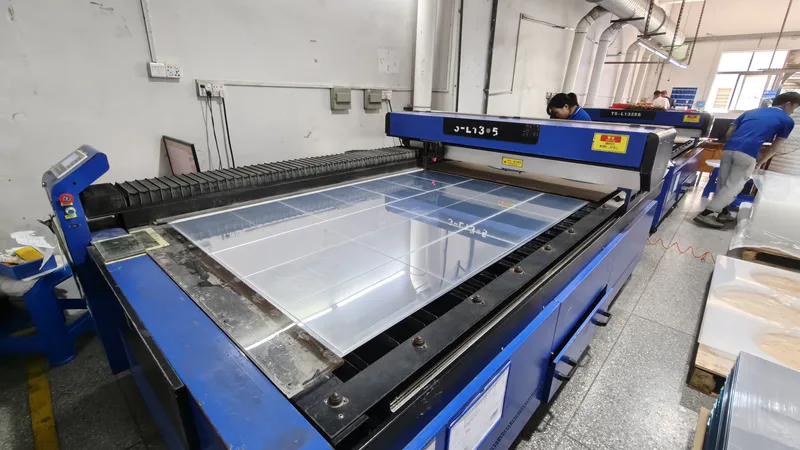
CO2 laser settings for acrylic mirror
Acrylic is one of the materials where the gap between a usable cut and a clean cut comes down to settings. The cut should leave a smooth, slightly glossy edge; frosting, yellowing, or a gummy lip all indicate the settings need adjustment.
Starting settings by thickness
The values below are common starting points for cast acrylic on CO2 machines, compiled from published machine-maker references. Treat them as a baseline to test on scrap, not as final numbers.
| Thickness | 40–60W laser | 80–100W laser |
|---|---|---|
| 3mm | ~15–20 mm/s, 80–90% power, single pass | faster single pass, ~80% power |
| 5mm | ~8–12 mm/s, 90–100% power, single pass | single pass, lower power % |
| 10mm | 2 passes or higher-power machine | ~1–2 mm/s or 2 passes |
The guidance from Rothko and Frost is the source for the 40–60W cast acrylic figures: 3mm at roughly 15–20 mm/s and 80–90% power, 5mm at 8–12 mm/s and 90–100% power, and 10mm generally needing two passes or a more powerful machine. Their stated reasoning is that thicker stock requires the beam to deliver more energy through the depth of the cut, which means either more power, slower speed, or multiple passes — and that pushing speed too low to compensate causes its own problem, because excess dwell time melts away too much material and the part loses dimensional accuracy.
The variables that decide edge quality
Beyond raw power and speed, several factors determine whether the edge comes out clear or frosted:
- Air assist. A steady stream of air at the cut path prevents flame flare-up and soot, but too strong an air flow blasts the kerf and frosts the edge. The most common cause of an unexpectedly frosty edge on cast acrylic is air assist set too high relative to the power and speed.
- Focal point. An out-of-focus beam widens the cut and degrades the edge. Set the focus to the actual measured thickness, not the nominal figure.
- Single vs double pass. A single pass is preferred for clarity and consistency. Use a second pass only when a stable single pass cannot cut through; reduce power and increase speed on the second pass to avoid over-melting.
- Speed too low. Running too slow to “make sure” it cuts through causes heat buildup, yellowing, and burning. There is a best speed, not just a maximum speed.
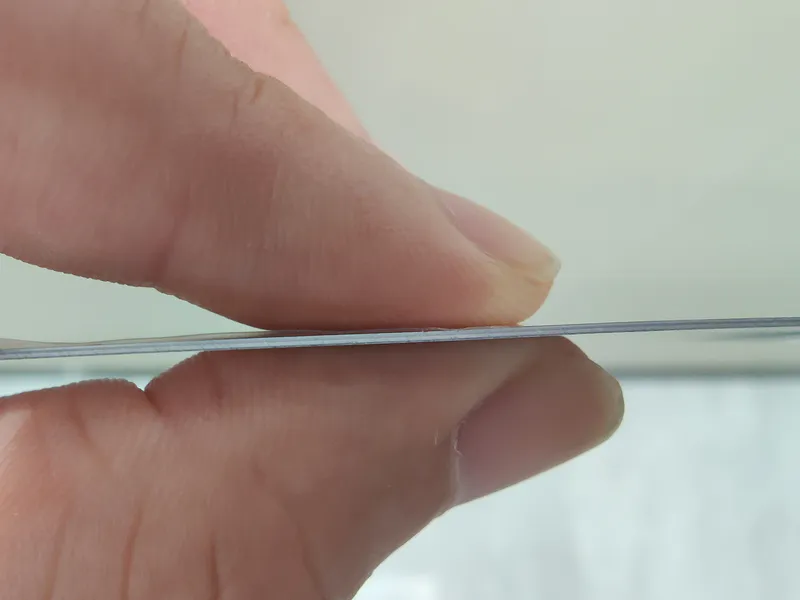
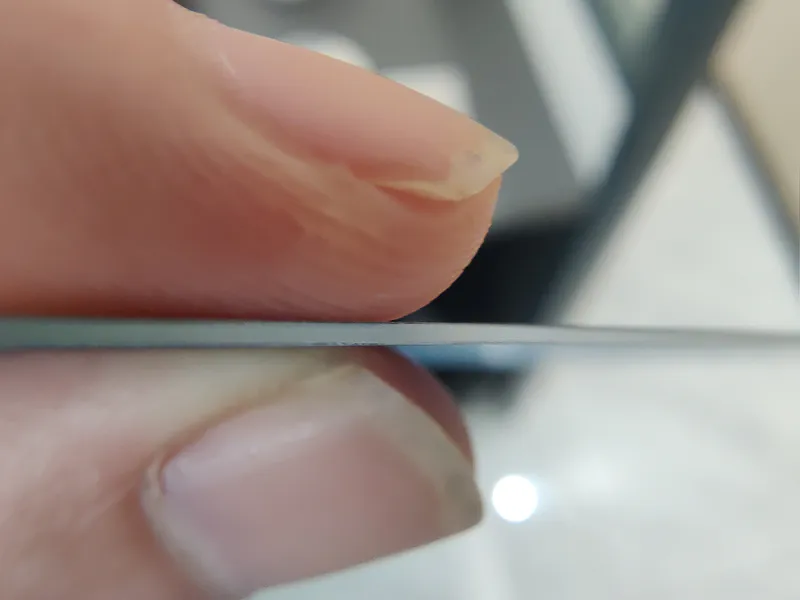
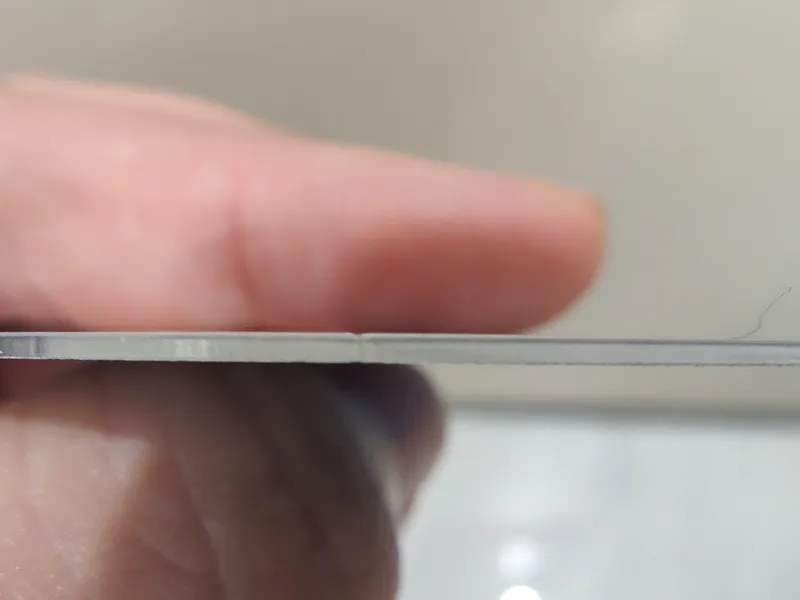
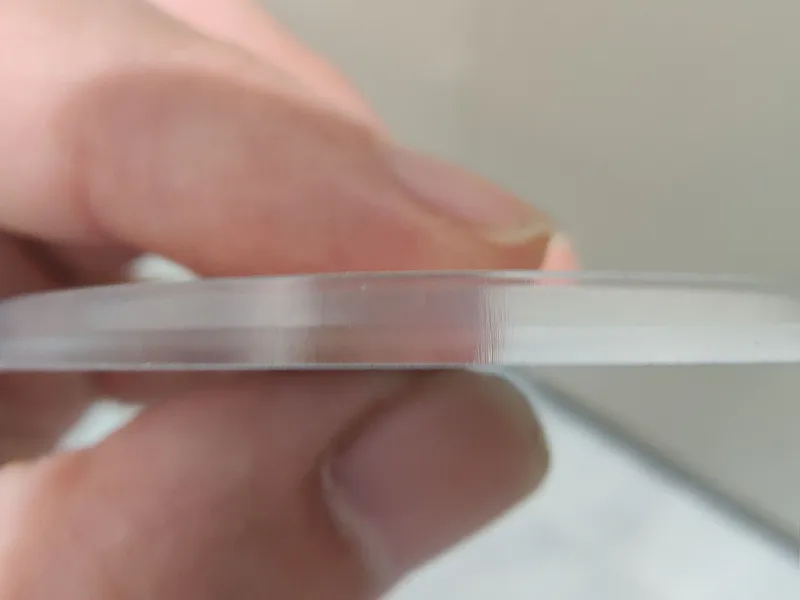
A defocused beam is sometimes used deliberately to soften and polish an edge, but it trades dimensional precision for finish, so it is a finishing choice rather than a cutting default. The following image shows the edge‑processing effect after our company cuts the lenses. We aim for smooth edges without noticeable roughness.
Protecting the mirror surface
Mirror acrylic has a reflective coating and a protective backing that ordinary clear acrylic does not, and both need consideration during laser work.
Masking and orientation
- Keep the protective film on both faces during cutting. It shields the mirror surface from soot, debris, and minor scratches. Mark the design on the film, not the mirror.
- Cut from the correct face. Cut with the laser striking the front (mirror) face unless your test cuts show a cleaner result from the coated back; this varies by machine and coating, so confirm on scrap.
- For engraving, work on the back. When engraving mirror acrylic for a see-through or reverse-image effect, engrave through the coated back so the front mirror face stays intact. Mirror the artwork in software before engraving the reverse side.
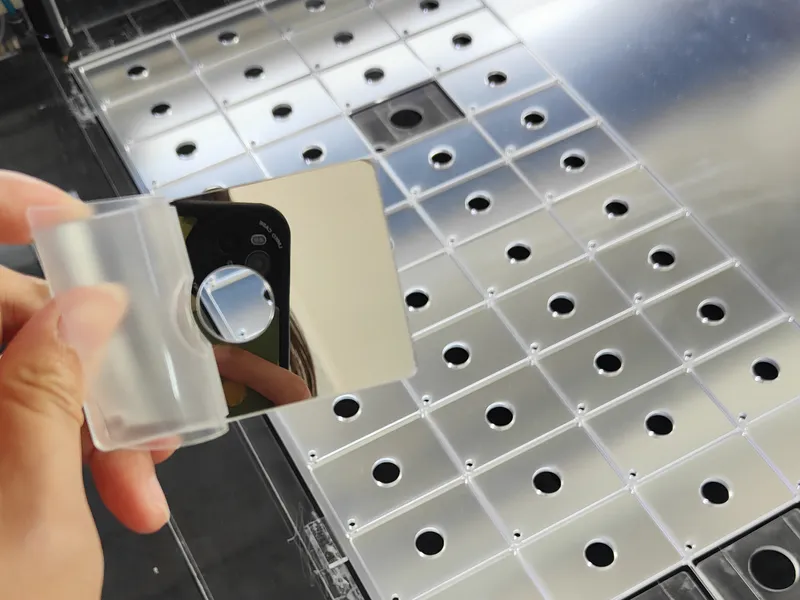
- In all production processes, the protective film will remain on the mirror surface. It will not be removed until the customer receives the product and installs/uses it.
Coating and edge considerations
The reflective coating sits behind the acrylic, so a front-face cut passes through clear material before reaching the coating, and the laser seals the cut edge as it goes. The most common issue we see on mirror acrylic specifically is coating lift or discoloration at the cut edge when power is set too high — the excess heat degrades the coating just behind the cut line. If you see a darkened or lifted margin along the edge, reduce power and increase speed rather than adding passes.
Common laser-cut mirror acrylic projects
Mirror acrylic is one of the more popular materials in small-scale laser work because the reflective finish adds visual impact that plain acrylic does not. The projects we see ordered for most often:
- Signage and lettering — cut letters, logo plaques, and dimensional signage where the mirror finish reads as premium.
- Craft and decor — ornaments, wall art, geometric shapes, layered designs combining mirror with colored acrylic.
- Jewelry and small goods — earrings, pendants, charms, and similar small cut pieces, typically from 1.5–3mm stock.
- Wedding and event items — table numbers, place cards, cake toppers, and signage, where gold and rose gold mirror finishes are popular.
- Awards and engraved plaques — combining a cut mirror outline with reverse-engraved detail.
- Retail and display fixtures — small reflective accents and branded display elements.
For most of these, 1.5mm and 3mm cast mirror acrylic covers the range. Thicker stock is used where the piece is structural or where a substantial edge is part of the look.
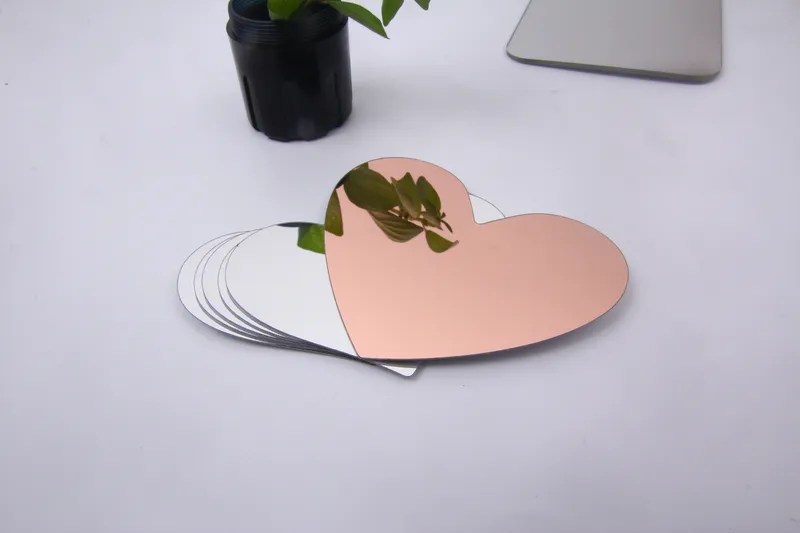
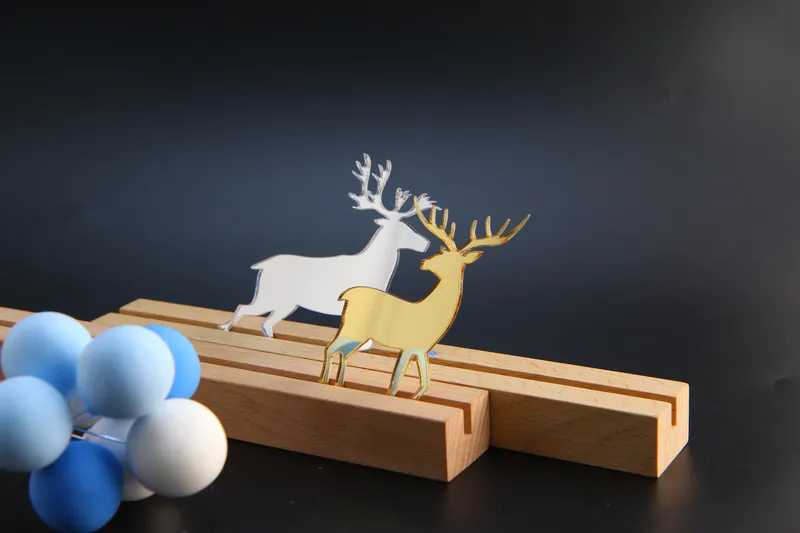
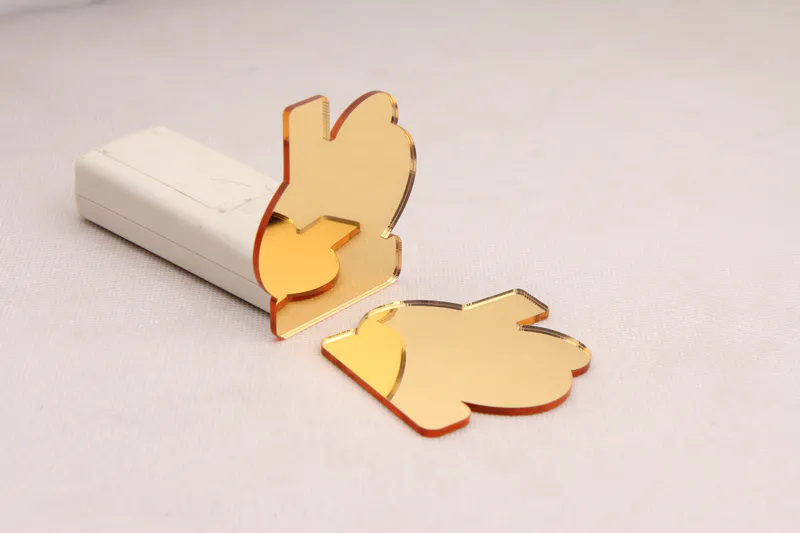
The picture below shows the semi‑finished lens products that our company has laser‑cut according to customer requirements. We can handle almost any shape—there’s nothing we can’t do, only things you haven’t thought of yet.
Material sizing and what to order
Most laser beds handle sheets well within the size range where acrylic mirror performs without distortion, so the size limit that affects large flat mirror installations is rarely a factor in laser work — the cut pieces are small. Mirror acrylic for laser cutting is usually ordered as sheets sized to the laser bed, then cut down into the finished parts.
A few ordering points:
- Specify cast for cut-edge work, extruded only if mainly engraving or batch press-fit parts.
- Confirm the actual thickness if parts need to interlock, since cast carries a looser thickness tolerance.
- Order colored mirror — gold, rose gold, bronze, black — in a single batch when color consistency across parts matters, as batch-to-batch tint varies slightly.
Buyers cutting large quantities sometimes start from full sheets and cut them down on the laser; our 4×8 sheets guide covers the full-sheet format, and the custom cut guide covers having parts factory-cut where in-house laser capacity is limited. Note that laser cutting applies to flat sheet only — curved mirror products such as convex and dome are thermoformed rather than cut from flat stock, as covered in the curved mirrors guide.
Mirror acrylic in two-way (one-way) form can also be laser cut for smart-mirror and display builds; the cutting behaves the same as standard mirror, though the thinner reflective coating warrants extra care on edge heat. The optics of that material are covered in the two-way mirrors guide.
Practical summary
For clean laser-cut acrylic mirror:
- Specify cast acrylic for visible cut edges; extruded only for engraving-led or batch press-fit work.
- Start from the settings table for your machine wattage and thickness, then test on scrap.
- Tune air assist and focal point before adding power — frosting usually comes from air or focus, not from too little power.
- Keep the protective film on, mark and cut from the film side, and engrave on the reverse for see-through effects.
- Reduce power and increase speed if you see coating lift at the edge.
Simple flat parts in cast mirror acrylic, up to around 6mm, laser cut cleanly on most CO2 machines once the settings are dialed in. For thick stock, large quantities, or parts requiring tight, repeatable tolerances, factory cutting reduces both material waste and the per-part tuning effort. Our large mirror sheets are available cut to size and, where needed, supplied as laser-cut parts to specification.